
Crochet, Free Bag Pattern, Free Crochet Pattern, Free Pattern, Free Worsted Weight Yarn Pattern
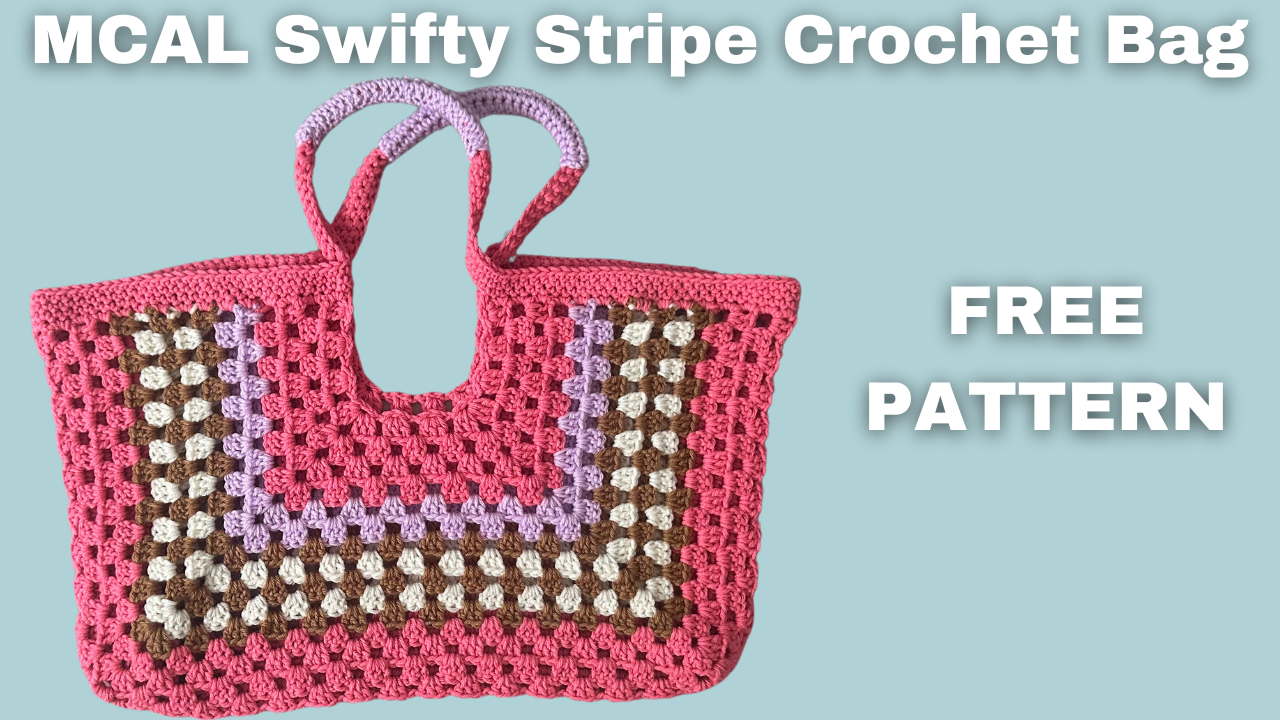
How to Crochet the Swifty Stripe Granny Stitch Crochet Bag: Step-by-Step Tutorial
Jul
How to Crochet the Swifty Stripe Granny Stitch Crochet Bag: Step-by-Step Tutorial
Are you ready to dive into the world of trendy crochet and create a stunning bag inspired by Taylor Swift’s iconic style? The July Mystery Crochet Along (MCAL) project is the perfect blend of vintage charm and modern flair: the Swifty Stripe Granny Stitch Crochet Bag! In this detailed tutorial, I’ll guide you step-by-step through the process of crocheting this unique bag, complete with vibrant stripes and a fun construction.You get the free pattern, detailed charts, and a 7-part video series to help you every step of the way! If you joined me during the 7 part mystery, let me know! And here I will exclusive bonus material that wasn’t released in the mystery, too! Including 2-rows longer for a larger bag, a longer strap and a reinforced strap – all you can find at the end of this free pattern page. Enjoy!
Watch the 8-part video series here:
Materials You’ll Need
- Yarn: Choose your favorite colors of worsted weight yarn. I recommend using a mix of bright and pastel shades to create those eye-catching stripes.
- Crochet Hook: H/8 (5.0 mm) crochet hook.
- Notions: Scissors, yarn needle, stitch markers.
Yarns I Chose:
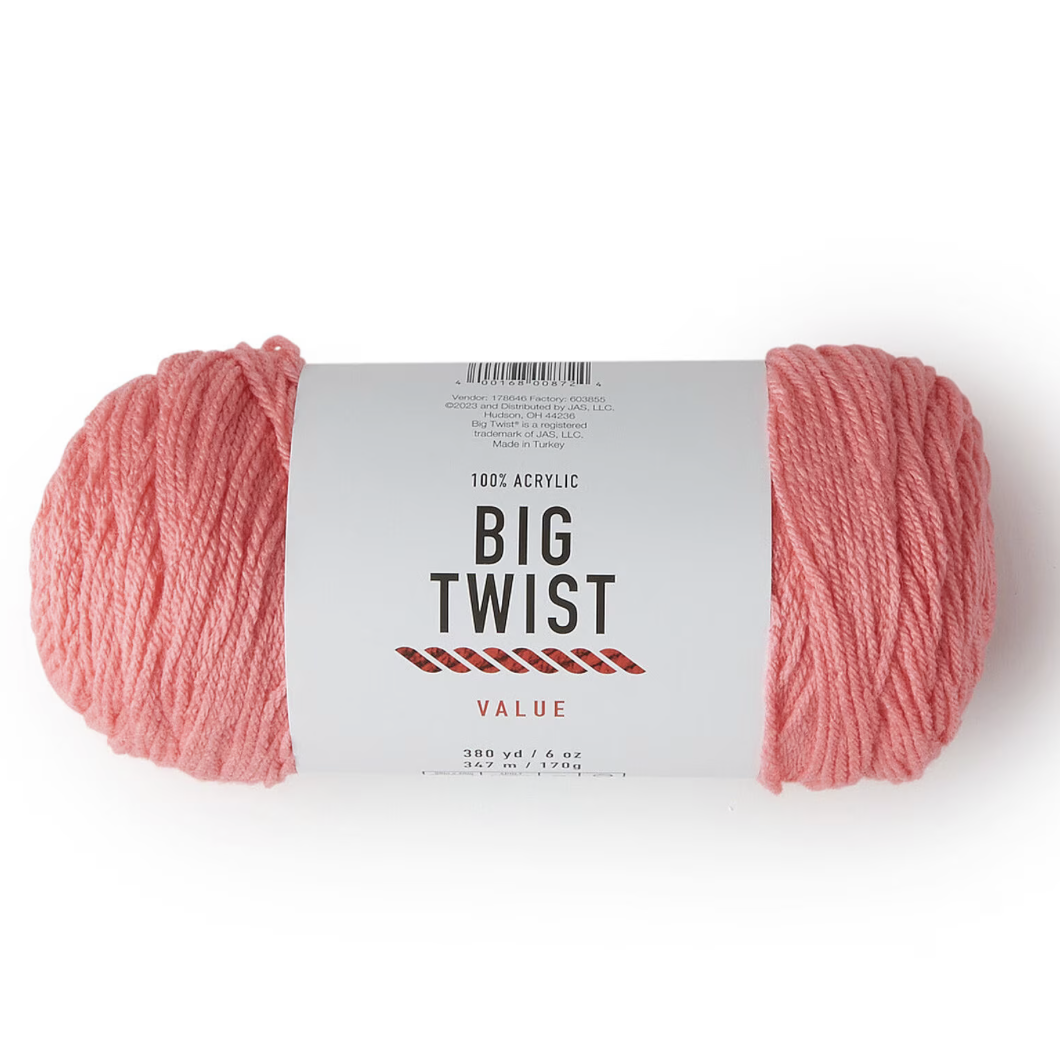
Big Twist Yarn
color Watermelon, 4 balls
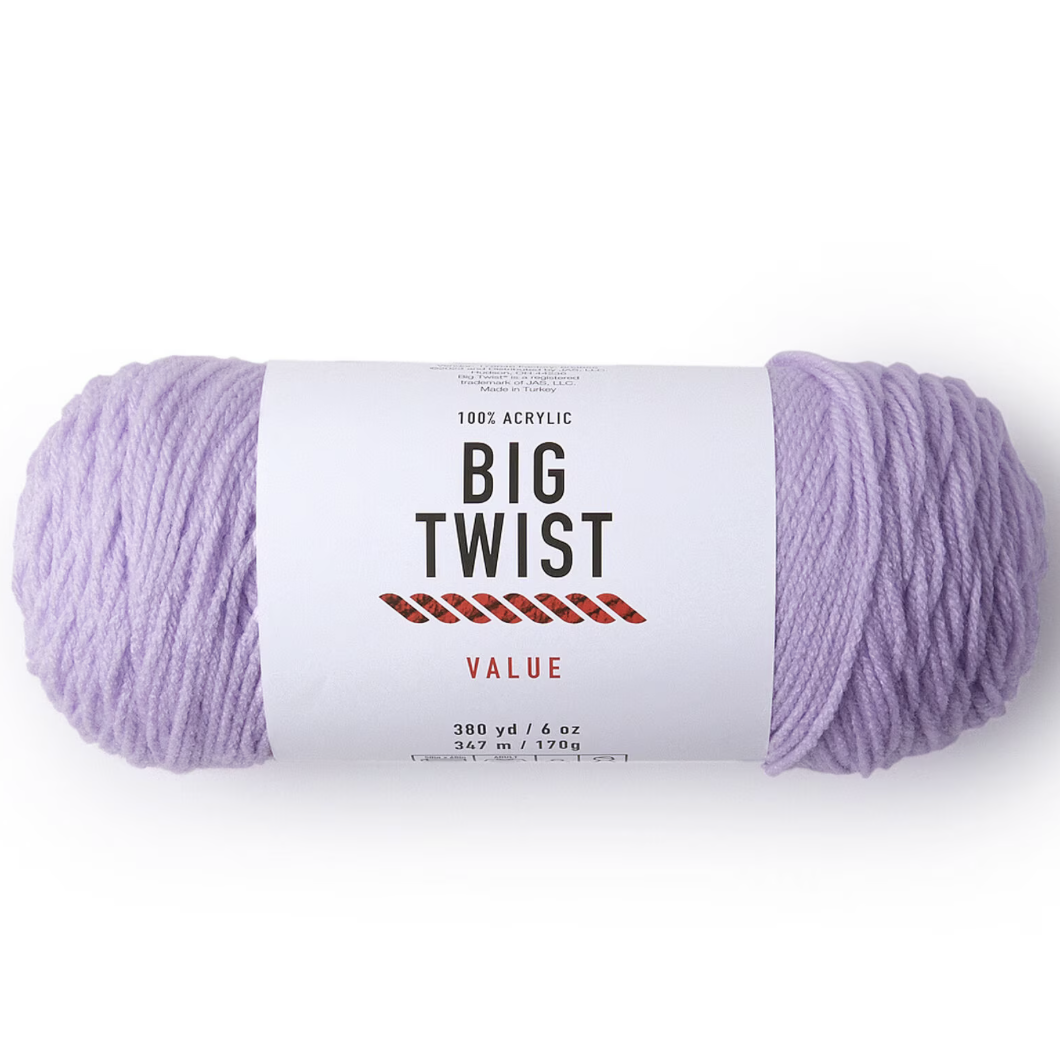
Big Twist Yarn
color Soft Purple, 2 balls
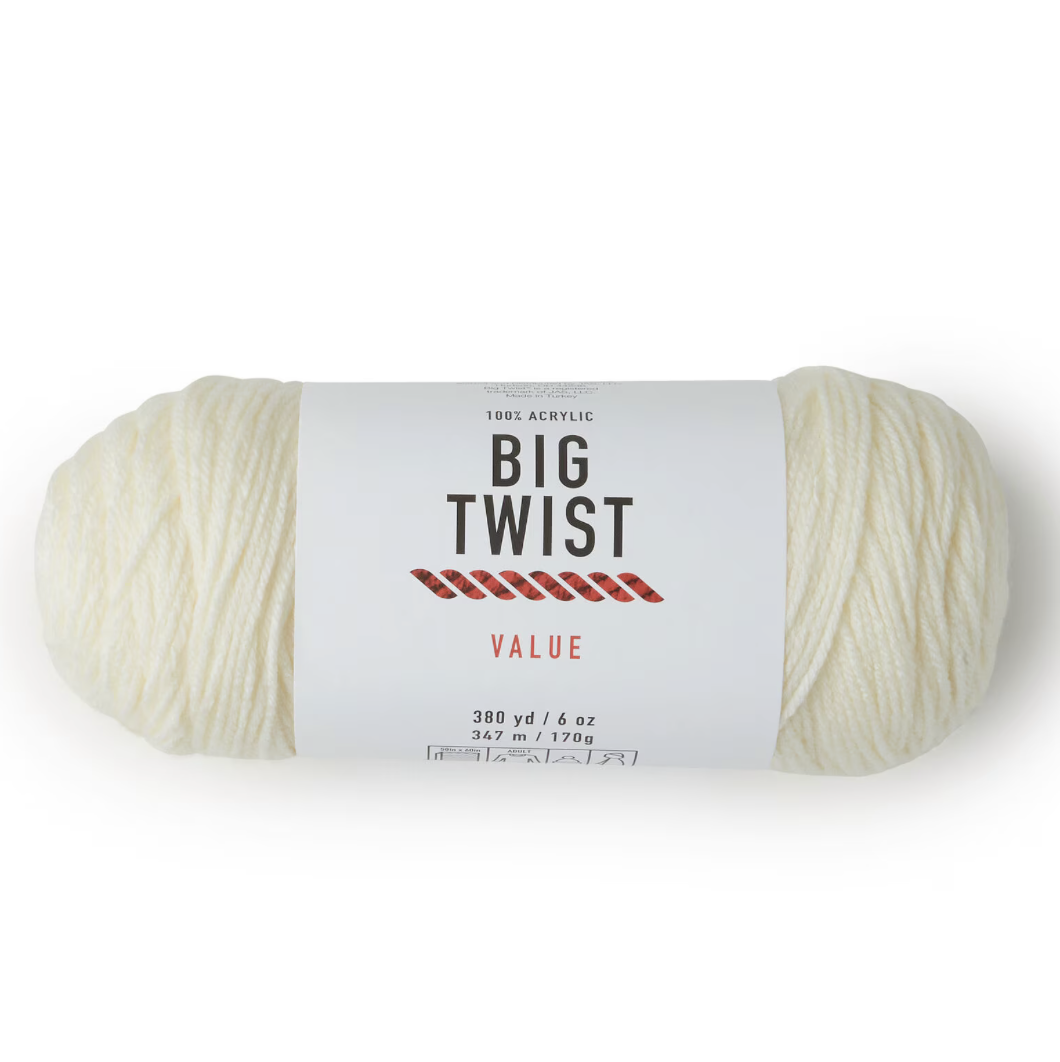
Big Twist Yarn
color Ivory, 2 balls
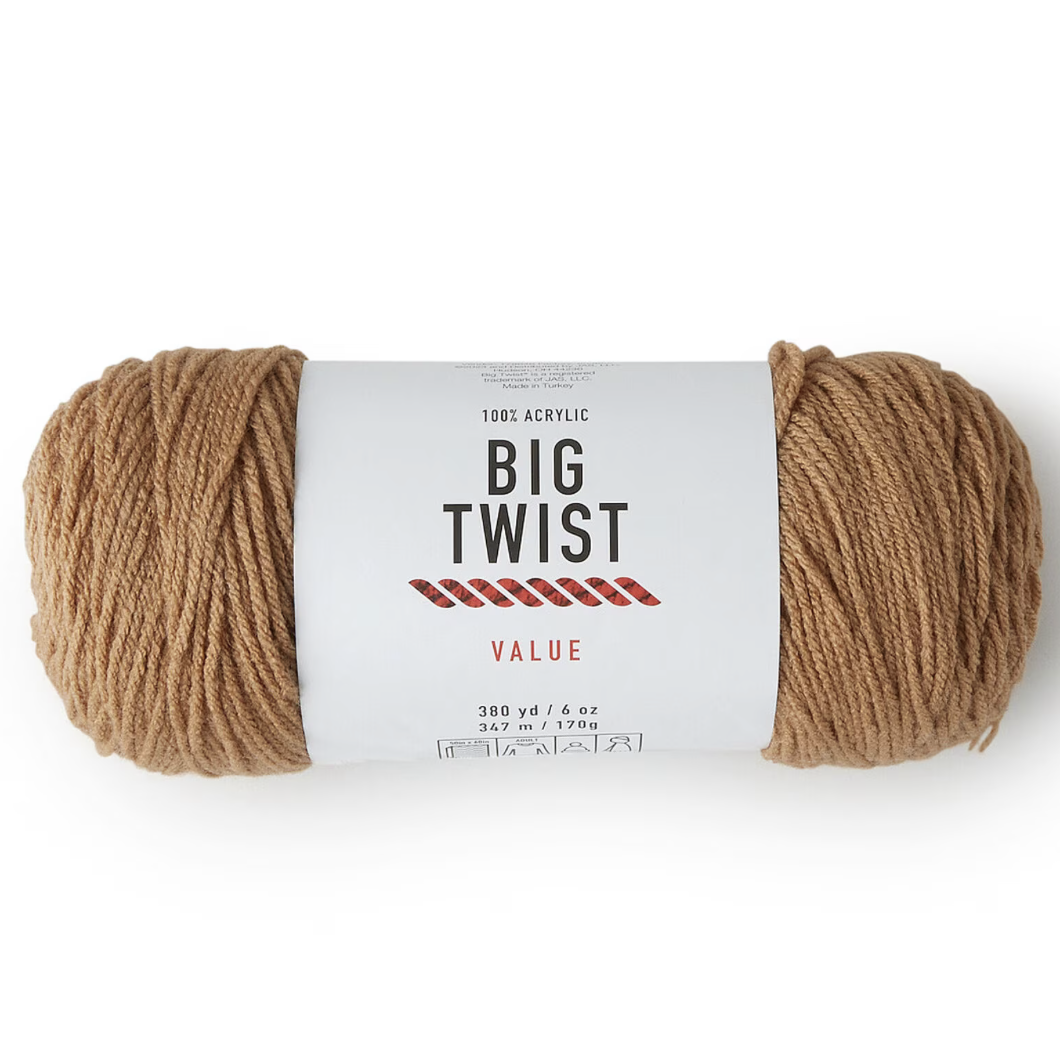
Big Twist Yarn
color Camel, 2 balls
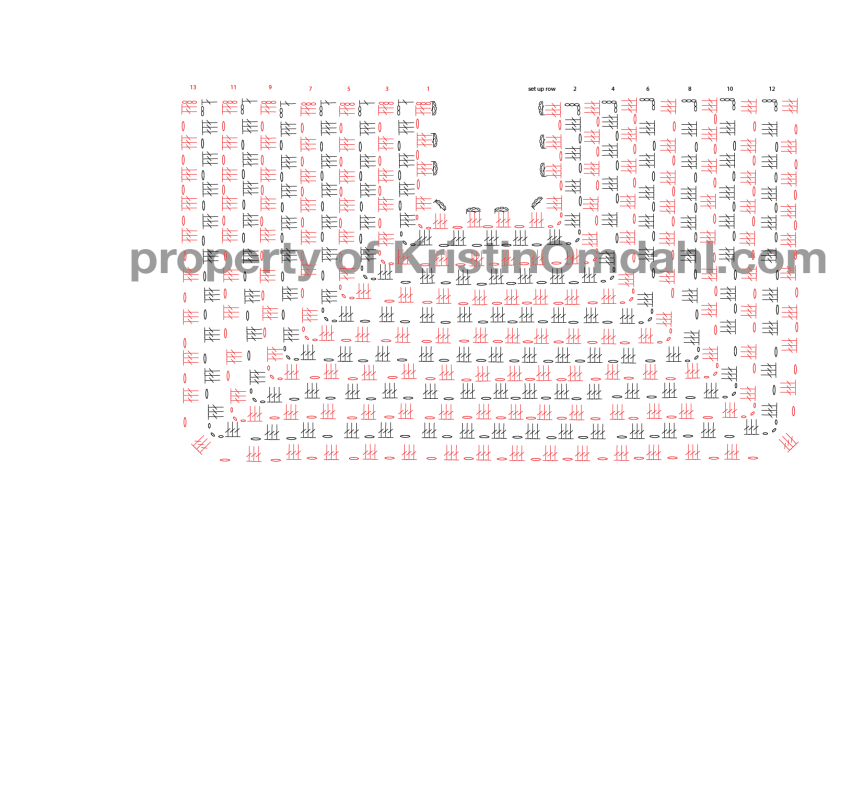
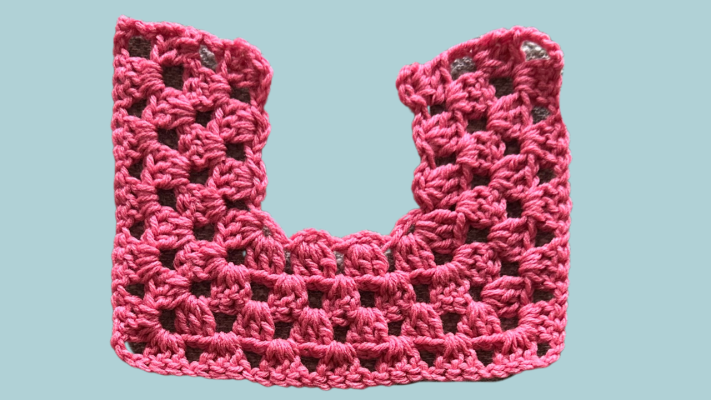
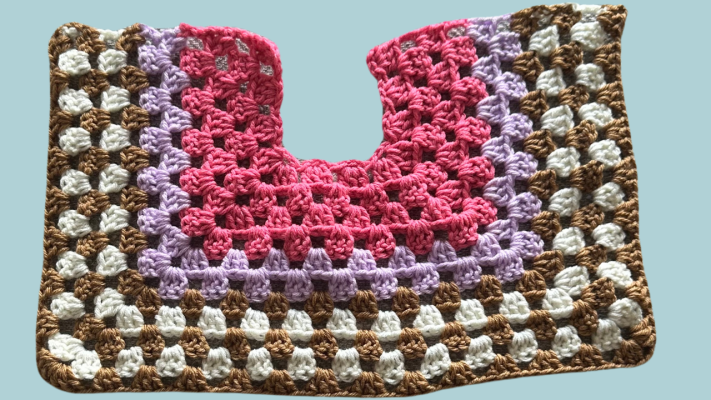
Getting Started with Increasing 2 Corners with Granny Stitch in Rows
The granny stitch is a classic crochet technique that forms the foundation of our Swifty Stripe Bag. If you’re new to the granny stitch, don’t worry! It’s simple and easy to learn. Here’s how to get started:
With color A:
Set Up Row: Ch3, dc in 3rd ch from hook. Rep from * nine more times. — 10 fos
Row 1: Slst into first fo, ch3 (counts as dc), 2dc in same sp, *(ch1, 3dc in next fo)x2, ch1, (3dc, ch3, 3dc) in next fo, (ch1, 3dc in next fo)x2, ch1, (3dc, ch3, 3dc) in next fo, (ch1, 3dc in next fo)x4, turn.
Row 2: Ch5 (counts as dc, ch2), skip 3 dcs, 3dc in next ch1 sp, (ch1, 3dc in next ch1 sp)x2, ch1, (3dc, ch3, 3dc) in next ch3 sp, (ch1, 3dc in next ch1 sp)x3, ch1, (3dc, ch3, 3dc) in next ch3 sp, (ch1, 3dc in next ch1 sp)x3, ch2, skip 2 sts, dc in last st, turn.
Row 3: Ch3 (counts as dc), 2dc in ch2 sp, (ch1, 3dc in next ch1 sp)x3, ch1, (3dc, ch3, 3dc) in next ch3 sp, (ch1, 3dc in next ch1 sp)x4, ch1, (3dc, ch3, 3dc) in next ch3 sp, (ch1, 3dc in next ch3 sp)x3, ch1, 2dc in ch2 sp, 1dc in last st, turn.
Row 4: Ch5 (counts as dc, ch2), skip 3 sts, 3dc in next ch1 sp, (ch1, 3dc in next ch1 sp)x3, ch1, (3dc, ch3, 3dc) in next ch3 sp, (ch1, 3dc in next ch1 sp)x5, ch1, (3dc, ch3, 3dc) in next ch3 sp, (ch1, 3dc in next ch1 sp)x4, ch2, skip 2 sts, 3d in last st, turn.
Note: If you are using the 11-stripe sequence iwht 4 colors, fasten off after row 4, otherwise just continue in pattern.
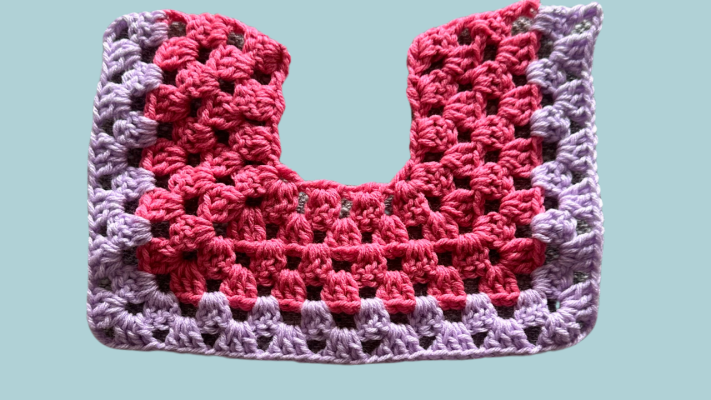
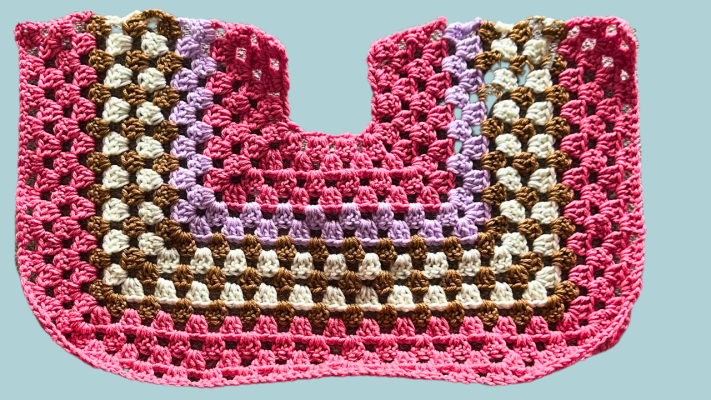
Adding Stripes
To create the signature Swifty stripes, you’ll need to change colors every few rows. Here’s a simple way to add stripes to your granny stitch:
- Join a new color by tying it to the previous yarn and pulling it through the last loop of the previous stitch.
- Chain 3 with the new color and continue working granny stitch clusters as described above.
- Repeat the color changes as noted in the pattern.
With color B:
Round 5: Ch3 (counts as dc), 2dc in ch2 sp, (ch1, 3dc in next ch1 sp)x4, ch1, (3dc, ch3, 3dc) in next ch3 sp, (ch1, 3dc in next ch1 sp)x6, ch1, (3dc, ch3, 3dc) in next ch3 sp, (ch1, 3dc in next ch1 sp)x4, ch1, 2dc in next ch2 sp, 1dc in last st, turn.
Round 6: Ch5 (counts as dc, ch2), skip 2 sts, 3dc in next ch1 sp, (ch1, 3dc in next ch1 sp)x4, ch1, (3dc, ch3, 3dc) in next ch3 sp, (ch1, 3dc in next ch1 sp)x7, ch1, (3dc, ch3, 3dc) in next ch3 sp, (ch1, 3dc in next ch1 sp)x5, ch2, skip 2 sts, dc in last st, turn.
With color C:
Round 7: Ch3 (counts as dc), 2dc in ch2 sp, (ch1, 3dc in next ch1 sp)x5, ch1, (3dc, ch3, 3dc) in next ch3 sp, (ch1, 3dc in next ch1 sp)x8, ch1, (3dc, ch3, 3dc) in next ch3 sp, (ch1, 3dc in next ch1 sp)x5, ch1, 2dc in next ch2 sp, 1dc in last st, turn.
With color D:
Round 8: Ch5 (counts as dc, ch2), skip 2 sts, 3dc in next ch1 sp, (ch1, 3dc in next ch1 sp)x5, ch1, (3dc, ch3, 3dc) in next ch3 sp, (ch1, 3dc in next ch1 sp)x9, ch1, (3dc, ch3, 3dc) in next ch3 sp, (ch1, 3dc in next ch1 sp)x6, ch2, skip 2 sts, dc in last st, turn.
With color C:
Row 9: Ch3 (counts as dc), 2dc in ch2 sp, (ch1, 3dc in next ch1 sp)x6, ch1, (3dc, ch3, 3dc) in next ch3 sp, (ch1, 3dc in next ch1 sp)x10, ch1, (3dc, ch3, 3dc) in next ch3 sp, (ch1, 3dc in next ch1 sp)x6, ch1, 2dc in next ch2 sp, 1dc in last st, turn.
With color D:
Row 10: Ch5 (counts as dc, ch2), skip 2 sts, 3dc in next ch1 sp, (ch1, 3dc in next ch1 sp)x6, ch1, (3dc, ch3, 3dc) in next ch3 sp, (ch1, 3dc in next ch1 sp)x11, ch1, (3dc, ch3, 3dc) in next ch3 sp, (ch1, 3dc in next ch1 sp)x7, ch2, skip 2 sts, dc in last st, turn.
With color C:
With color A:
Row 12: Ch5 (counts as dc, ch2), skip 2 sts, 3dc in next ch1 sp, (ch1, 3dc in next ch1 sp)x7, ch1, (3dc, ch3, 3dc) in next ch3 sp, (ch1, 3dc in next ch1 sp)x13, ch1, (3dc, ch3, 3dc) in next ch3 sp, (ch1, 3dc in next ch1 sp)x8, ch2, skip 2 sts, dc in last st, turn.
Row 13: Ch3 (counts as dc), 2dc in ch2 sp, (ch1, 3dc in next ch1 sp)x8, ch1, 3dc in next ch3 sp, (ch1, 3dc in next ch1 sp)x14, ch1, 3dc in next ch3 sp, (ch1, 3dc in next ch1 sp)x8 ch1, 2dc in next ch2 sp, 1dc in last st, turn.
Rows 14 – 15: Ch3 (counts as dc), 2dc in ch2 sp, *(ch1, 3dc in next ch1 sp. Rep from * across, ch1, 2dc in next ch2 sp, 1dc in last st. Fasten off.
HOMEWORK:
Rows 1 – 12: Repeat rows 1- 12 for a second mystery piece, but do not fasten off after row 12.
In this section of the instructions we will be joining the front and back pieces of the bag together using Join-As-You-Go (JAYG) method of joining motifs together along row 13 of both pieces. That is why we completed row 13 of the front and now will crochet 13 of the back AT THE SAME TIME as joining the pieces together.
Replace every ch1 with ch1 join (slst) for row 13 of back, joining it to each ch1 sp of front.
BACK:
Row 15: Ch3 (counts as dc), slst to adjacent dc on front, 2dc in ch2 sp on back, slst to adjacent ch1 sp on front, *3dc in next ch1 sp on back, slst to adjacent dc on front. Rep from * around, 2dc in last ch3 sp, 1dc in last dc, slst to adjacent dc on front.
Do not fasten off.
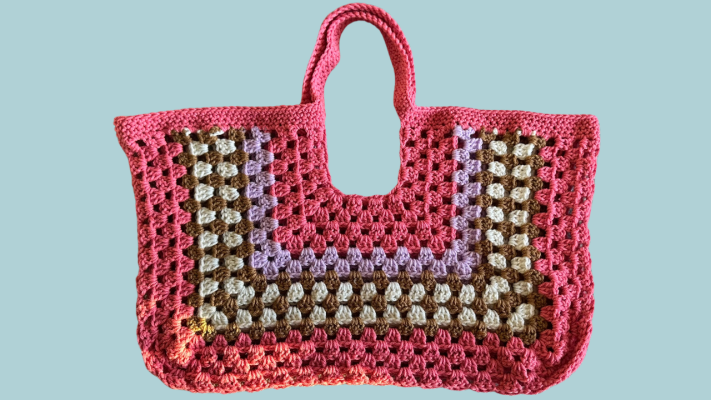
Top & Strap:
Note: In the original MCAL I made a very short handle (strap) with 13 foundation ovals. In the second Swift Stripe version, I made a longer strap (52 foundation ovals). the rest of the instructions are identical.
Round 1: Ch1, *2sc in ea row end st across, 1sc in foundation oval (fo), 13 foundation sc (fsc) OR 39 foundation sc (fsc), 1sc in next fo. Rep from * once more, 2sc in ea row end st around, slst to top of first sc at beg of round to join.
Rounds 2 – 5: Ch1, sc in ea st around, slst to top of first sc at beg of round to join.
Fasten off.
Strap Reinforcements (make 2):
With color B:
Row 1: Ch27, sc in 2nd ch from hook and ea ch across, turn. — 26 scs
Rows 2 – 5: Ch1, sc in ea st across, turn.
Fasten off at the end of row 5, leaving a long tail.
Finishing Touches
To complete your Swifty Stripe Granny Stitch Crochet Bag, weave in all the ends and block the bag to shape it properly. You can also add a lining if you want extra durability and structure.
Get the Free Pattern, Detailed Charts, and 7-Part Video Tutorial Series
Ready to crochet your own Swifty Stripe Granny Stitch Bag? Head over to my website to download the free pattern, access detailed charts, and watch the 7-part video tutorial series. Whether you’re a beginner or an experienced crocheter, these resources will help you create a stunning bag that’s sure to turn heads.
Join the July MCAL!
Don’t forget to join our July Mystery Crochet Along (MCAL) to share your progress, ask questions, and connect with fellow crocheters. Share your finished Swifty Stripe Granny Stitch Crochet Bags on social media using the hashtag #SwiftyStripeBag and tag me for a chance to be featured!
Happy Crocheting!
 Kristin Omdahl is the best-selling author of dozens of knit and crochet books; designer of almost 1,000 knit and crochet patterns; and producer of award-winning videos. You can join Kristin, a 20 year veteran in the crafting industry, weekly for The Kristin Omdahl Show podcast on YouTube and browse through thousands of tutorial videos there, too.
Shop all of Kristin Omdahl’s knitting and crochet patterns, books and courses here:
- Shop Kristin Omdahl Crochet Patterns
- Shop Kristin Omdahl Knitting Patterns
- Shop Kristin Omdahl Books
- Shop Kristin Omdahl Courses
- Browse Kristin Omdahl Videos
- Yarn Tales with Kristin Omdahl Podcast
- Craft Meditations
- Watch more of the Kristin Omdahl Show podcast
- Join my Patreon community
- Subscribe to my newsletter here
©Copyright 2024 All Rights Reserved
Kristin Omdahl patterns, books, handouts and videos are for your personal use only; additionally, up to 10 items can be made to sell from one design. Commercially produced products made from my instructions are prohibited. All Kristin Omdahl patterns, books, handouts and videos are licensed for single use and remain the intellectual property of Kristin Omdahl. This pattern may not be reproduced or transmitted in any form or by any means, electronic, mechanical, photocopying, recording or otherwise.
How Do I Download My Pattern or eBook?
Once payment is received, you will receive an email containing a download link button for the PDF pattern. If you do not receive your email immediately, please check your spam filters. If you are logged into your account at the time of purchase, you will also have 24/7 access and unlimited downloads to your pattern in your downloads library in your account section of the Kristin Omdahl website. All patterns are written in standard US terms. NO refunds on digital products.