
Blog, Crochet, Crochet Power Book
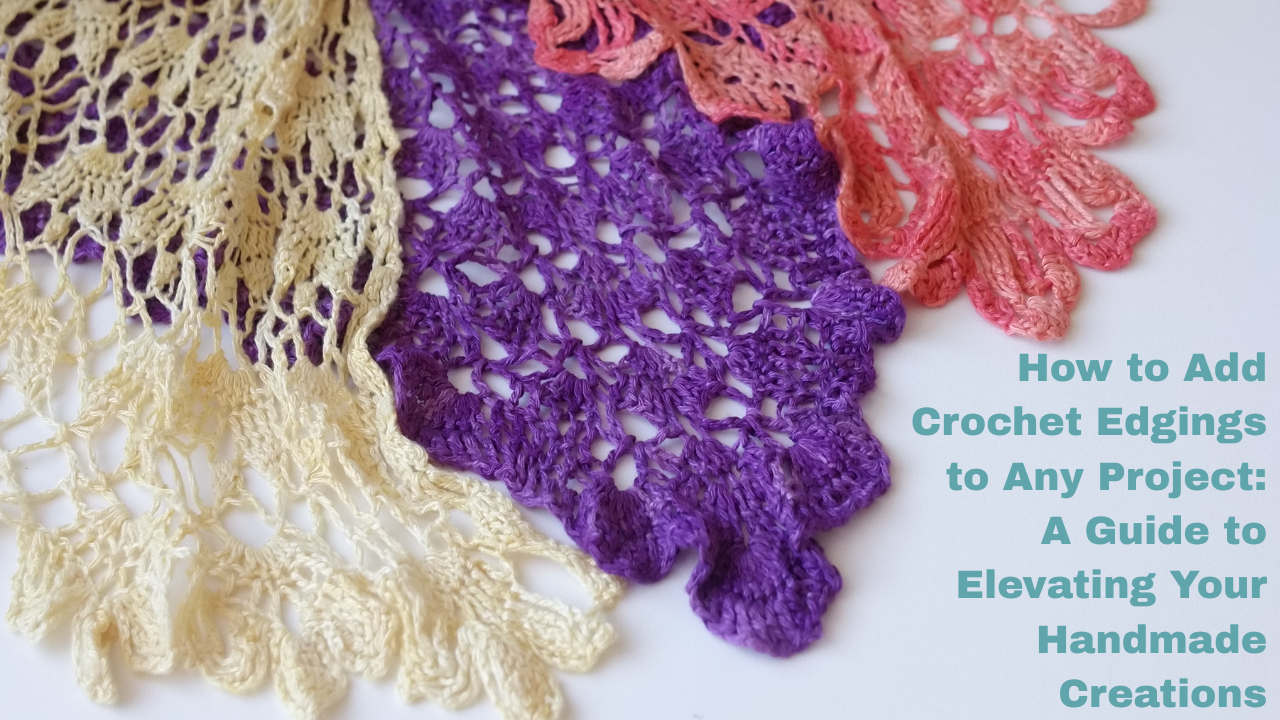
How to Add Crochet Edgings to Any Project: A Guide to Elevating Your Handmade Creations
Mar
Learn how to Add Crochet Edgings to Any Project: Adding a crochet edging is one of the easiest ways to give your projects a professional and polished finish. Whether you’re working on crochet, knit, fabric, or store-bought pieces, a well-chosen edging can elevate your design and add decorative flair.
In this guide, you’ll learn:
✅ Different types of crochet edgings and how to apply them
✅ How to work edgings on different fabrics (crochet, knit, and woven)
✅ Best beginner-friendly edging patterns
✅ How to turn corners and create seamless transitions
Want to explore even more edging possibilities? Check out Crochet Power: Edgings for an in-depth collection of innovative edging techniques!
Grab your copy today!
Crochet Power Edgings paperback
Why Add a Crochet Edging?
A simple project can be transformed with the right finishing touch! Here’s what crochet edgings can do:
✨ Frame & Finish – Clean up raw edges for a professional look
✨ Enhance Durability – Prevent unraveling and fraying over time
✨ Add Decorative Flair – Elevate basic designs with lace, scallops, or fringes
✨ Customize & Personalize – Make any project uniquely yours
Whether you’re revamping a scarf, upgrading a blanket, or adding a decorative border to a shawl, crochet edgings offer endless creative possibilities!
4 Types of Crochet Edging Construction
In Crochet Power: Edgings, edgings are categorized by construction method, each offering unique benefits and styling options.
1️⃣ Bottom-Up Edgings
Worked from the beginning edge to the fabric
Great for: Shawls, scarves, blankets
Example Use: Starting a shawl with a decorative border and decreasing to the top
Tip: Want a symmetrical look? Work two separate bottom-up pieces and seam them in the middle for identical mirrored edges.
2️⃣ Fringes & Dangles
Decorative, dangling elements for added movement
Great for: Shawls, wraps, boho-style accessories
Why Use? Unlike traditional cut fringe, crocheted fringe won’t fray or tangle, making it long-lasting.
“I have been designing various ways of creating stitched fringe edgings for years as a way to preserve your fabric over a lifetime of wear and washing.”
— Excerpt from Crochet Power: Edgings
3️⃣ Perpendicular (Side-to-Side) Edgings
Worked side-to-side, joined as you go
Most versatile edging style
Great for: Borders, bookmarks, fabric trims, and decorative straps
Unique Uses:
✔️ Join strips of perpendicular edging together to create entire fabrics
✔️ Use perpendicular edgings to create a tubular fabric (great for straps, belts, or eyeglass cords!)
✨ Want inspiration? In Crochet Power: Edgings, you’ll find projects that use these edgings in creative ways, like joining perpendicular edging strips to create a shrug!
4️⃣ Top-Down Edgings
Attached to the existing fabric and worked outward
Great for: Blankets, clothing, upcycled projects
Why Use? Frames projects beautifully with scallops, lace, or ruffles
“You can add these edgings to frame anything—whether it is a crochet fabric, knit fabric, store-bought cloth, or to upcycle a garment you already own.”
— Excerpt from Crochet Power: Edgings
✨ Experiment! Try applying top-down edgings to swatches before committing to a full project.
A Few of My Shawls with Crocheted Edgings:
- Alayna Crochet Shawl Pattern
- Aubrey Crochet Shawl Pattern
- Brielle Crochet on Fabric Shawl Pattern
- Celeste Crochet Shawl Pattern
- Dragonflies in Flight Crochet Shawl Pattern
- Firelight Facets Crochet Shawl Pattern
- Gardenia Crochet Shawl Pattern
- Giada Crochet Shawl Pattern
- Gloria Crochet Shawl Pattern
- Infinite Friendship Crochet Shawl Pattern
- Iskra Crochet Shawl Pattern
- Isobella Crochet Shawl Pattern
- Key West Crochet Shawl Pattern
- Leilani Crochet Shawl Pattern
- Lily Crochet Shawl Pattern
- Majestic Skies Crochet Shawl Pattern
- Midsummer Gardent Crochet Shawlette Pattern
How to Crochet Edging on Different Fabrics
Adding an edging isn’t limited to crochet projects! You can also apply crochet borders to knit fabrics, woven fabrics, and store-bought materials for a unique handmade touch.
How to Add Crochet Edging to Knit Fabric
When crocheting along a knitted piece:
✔️ Work a set-up row in a simple stitch (single, half-double, or double crochet)
✔️ If knitting and crochet gauge are similar, work 3 stitches for every 4 knit rows
✔️ On cast-on or bind-off edges, crochet into every stitch across
Matching colors: If changing colors, work the set-up row in the original fabric color for a seamless blend.
 How to Add Crochet Edging to Woven Fabric
Edgings can enhance store-bought clothing, linens, and upcycled fabric. However, since fabric doesn’t have natural stitches like crochet or knitting, you need to create an anchoring row.
✔️ For thin fabrics – Use a tiny hook to crochet directly into the fabric
✔️ For thicker fabrics – Hand-sew a blanket stitch or chain stitch first, then crochet into the sewn stitches
✨ Pro Tip: If using embroidery floss or thread for sewing, match the fabric color for a subtle look or the crochet color for contrast.
How to Turn Corners with Crochet Edgings
Corners require extra stitches to keep the fabric flat and smooth. The easiest method is to increase stitches in the corner area.
Example: If an edging pattern has a 5-stitch repeat, work an extra 5-stitch repeat on either side of the corner for a smooth transition.
Alternative Methods:
✔️ Gradually add extra stitches over multiple rows
✔️ Use a wedge-shaped corner for a decorative touch
✔️ Pleat or gather the edging for extra fullness
For a complete guide to turning corners, see the special section in Crochet Power: Edgings!
How to Create Ruffled & Tiered Edgings
Adding a ruffled effect is easy by increasing stitches before working the edging.
| Increase Rate | Effect |
|---|---|
| 50% Increase | Gentle wave |
| 100% Increase | Full ruffle |
| 200% Increase | Intense ruffle |
| 300%+ Increase | Spiral effect |
Example: If your row has 50 stitches:
✔️ 50% Increase: Work 2dc in every other stitch → 75 stitches
✔️ 100% Increase: Work 2dc in every stitch → 100 stitches
✔️ 200% Increase: Work 3dc in every stitch → 150 stitches
✨ Tiered Edgings: Work stitches into the back loop only to leave a free loop for layering multiple edging rows!
Want more creative edging ideas? Explore the formulas inside Crochet Power: Edgings!
Final Thoughts: Elevate Every Project with Crochet Edgings!
Adding an edging is the perfect way to:
✅ Frame & enhance your projects
✅ Increase durability for long-lasting wear
✅ Add a decorative or dramatic finish
Take your creativity further with Crochet Power: Edgings!
Inside, you’ll find:
✔️ Dozens of unique edging patterns
✔️ Step-by-step tutorials for every edging style
✔️ Inspiration for applying edgings to different fabrics
Grab your copy today!
Crochet Power Edgings paperback
 Kristin Omdahl is the best-selling author of dozens of knit and crochet books; designer of almost 1,000 knit and crochet patterns; and producer of award-winning videos. You can also join Kristin, a 20 year veteran in the crafting industry, on YouTube and browse through thousands of tutorial videos there, too.
Shop all of Kristin Omdahl’s knitting and crochet patterns, books and courses here:
- Shop Kristin Omdahl Crochet Patterns
- Shop Kristin Omdahl Knitting Patterns
- Shop Kristin Omdahl Books
- Shop Kristin Omdahl Courses
- Browse Kristin Omdahl Videos
- Yarn Tales with Kristin Omdahl Podcast
- Craft Meditations
- Watch more of the Kristin Omdahl Show podcast
- Join my Patreon community
- Subscribe to my newsletter here
©Copyright 2025 All Rights Reserved
Kristin Omdahl patterns, books, handouts and videos are for your personal use only; additionally, up to 10 items can be made to sell from one design. Commercially produced products made from my instructions are prohibited. All Kristin Omdahl patterns, books, handouts and videos are licensed for single use and remain the intellectual property of Kristin Omdahl. This pattern may not be reproduced or transmitted in any form or by any means, electronic, mechanical, photocopying, recording or otherwise.