
Free Dress Skirt Pattern, Free Pattern, Free Worsted Weight Yarn Pattern
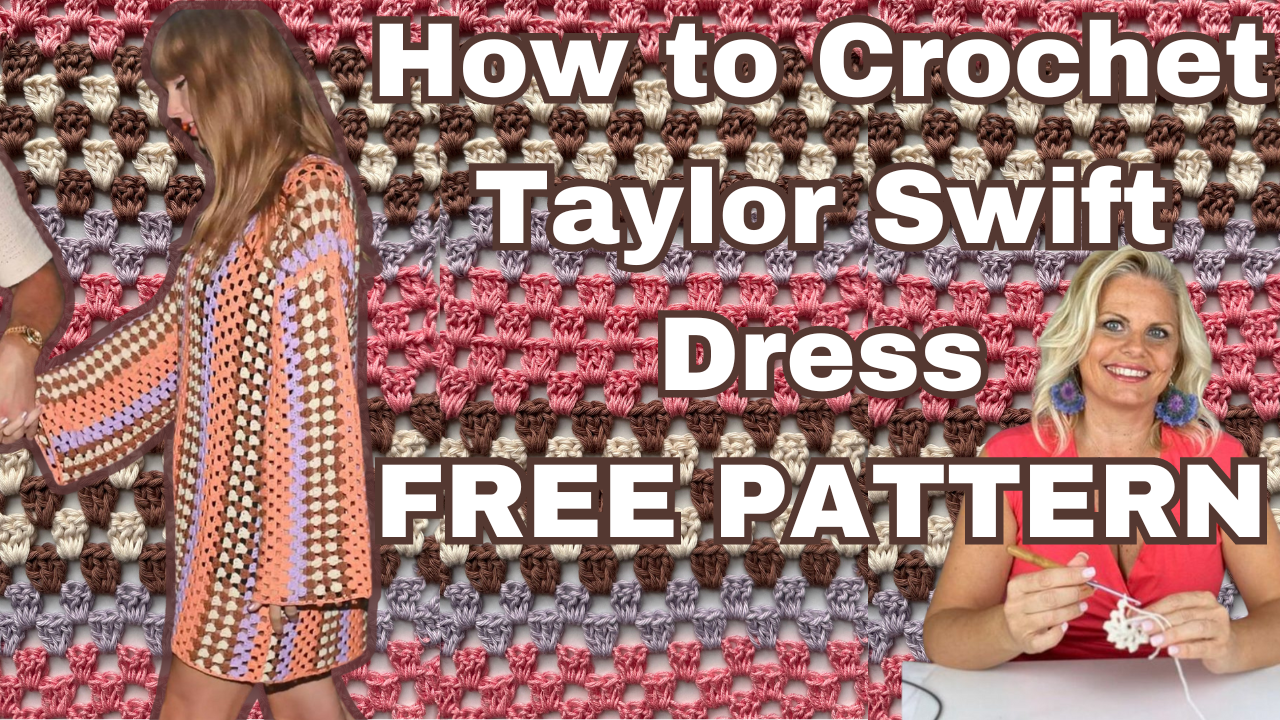
How to Take Your Measurements and Crochet a Custom-Fit Taylor Swift Dress FREE Crochet Pattern
Jun
How to Take Your Measurements and Crochet a Custom-Fit Taylor Swift Dress FREE Crochet Pattern
Creating a custom-fit dress is one of the most rewarding crochet projects you can undertake. Today, I’ll guide you through taking your measurements and crocheting a stunning dress inspired by Taylor Swift. This dress features a side-to-side construction in a granny stitch pattern, with a delightful 11-row stripe sequence using four colors. Let’s get started!
Materials Needed to make A Crochet a Custom-Fit Taylor Swift Dress
- Yarn in four colors (choose a weight that suits your preference, DK or worsted weight recommended)
- Crochet hook appropriate for your yarn
- Tape measure
- Scissors
- Tapestry needle for sewing seams
Yarns I Chose:
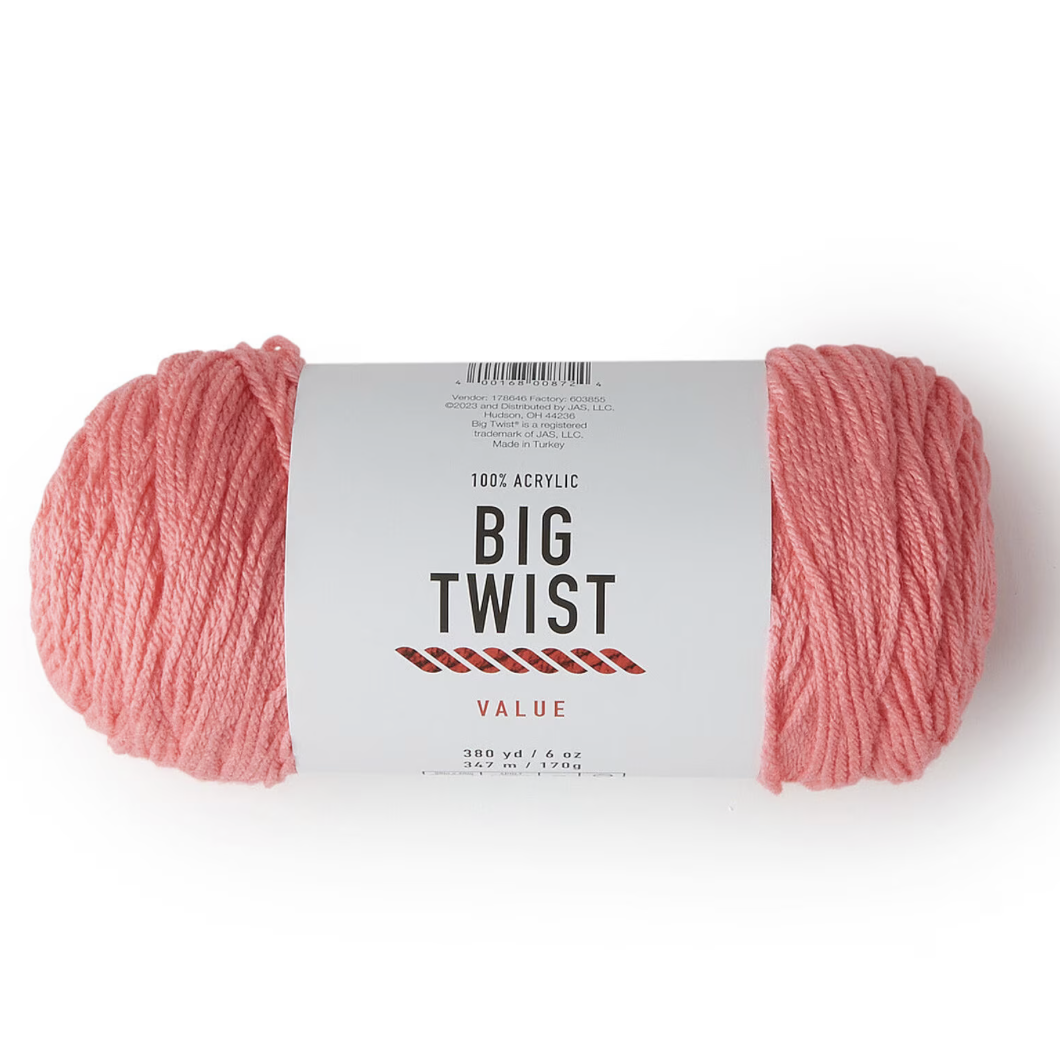
Big Twist Yarn
color Watermelon, 4 balls
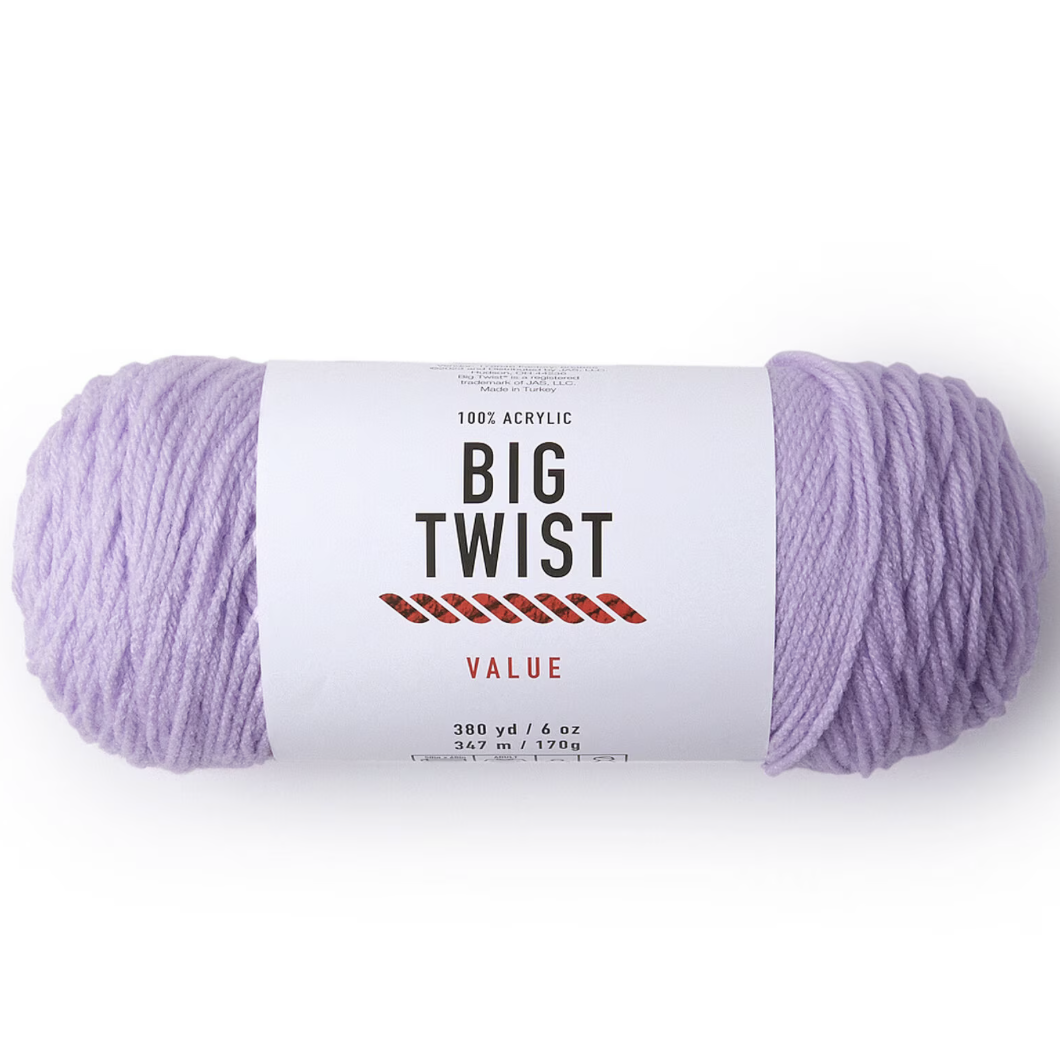
Big Twist Yarn
color Soft Purple, 2 balls
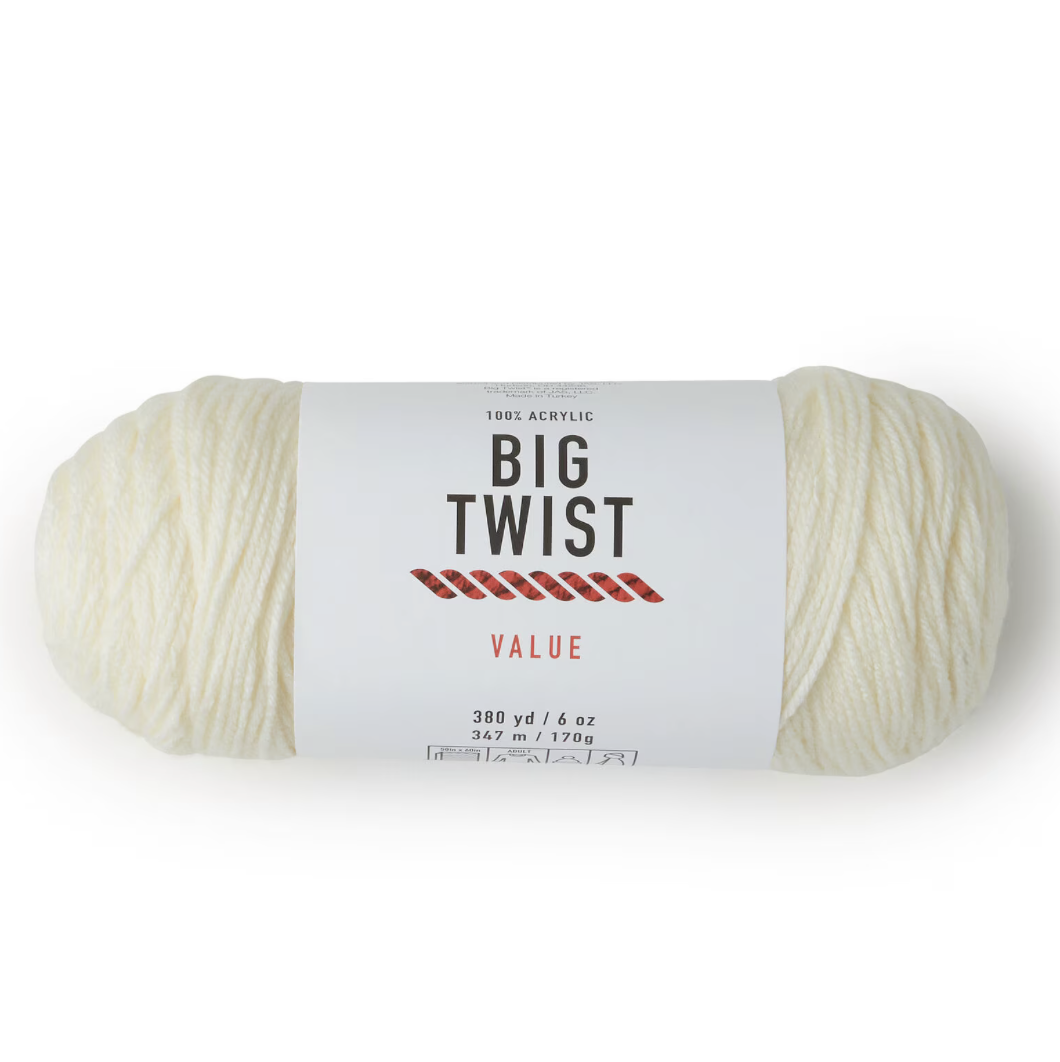
Big Twist Yarn
color Ivory, 2 balls
Big Twist Yarn
color Camel, 2 balls
Step 1: Take Your Measurements
Neck to Skirt Length
This measurement will determine the number of stitches per row.
- Stand straight and measure from the base of your neck (where a necklace would sit) to the desired length of your skirt.
- Note this measurement in inches or centimeters.
Shoulder to Shoulder Width
This measurement will determine the number of rows you need to crochet.
- Measure from the edge of one shoulder to the edge of the other shoulder.
- Note this measurement in inches or centimeters.
Step 2: Swatching and Calculations
- Crochet a Swatch:
- Create a small swatch in the granny stitch pattern (2 row repeat) to determine your gauge.
- Measure how many stitches you get per inch and how many rows you get per inch.
- Calculate Stitches Per Row:
- Use your neck to skirt length measurement and your gauge to calculate the number of stitches per row.
- Formula: Neck to Skirt Length (in inches) x Stitches Per Inch = Total Stitches Per Row
- Calculate Rows Needed:
- Use your shoulder to shoulder width measurement and your gauge to calculate the number of rows.
- Formula: Shoulder to Shoulder Width (in inches) x Rows Per Inch = Total Rows Needed
- Sample Gauge Swatch:

- See the photo of my swatch below. It is 23 stitches across x 7 rows long.
- I want to make my body panels 21 in wide (shoulder to shoulder) [STITCHES] and 32 in long (shoulder to skirt hem or thigh) [ROWS]
- And I want my sleeves to be 18 in wide (from shoulder to cuff) and 13 in long (around largest part of arm).
- My 23 stitches swatch measures 5.125 in wide. 23 / 5.125 = 4.5 sts per inch.
- My 7 row swatch measures 4.75 in long. 7/4.75 = 1.5 rows per inch.
- Body: 32 in x 4.5 sts per inch = 144 sts, round up to 145 (multiple of 4 + 1); 21 x 1.5 rows per inch = 31.5, round up to 32 rows
- Sleeve: 18 in x 4.5 sts per inch = 81 (already a multiple of 4 + 1); 13 in x 1.5 rows per inch = 19.5, round up to 20 rows
- Dress Calculations:
- Front and Back (make 2): Ch 145, dc in 4th ch from hook, crochet rows 1 – 4 of granny stitch crochet stitch pattern.
- Crochet 32 rows, repeating rows 3 – 4, in 11 row stitch pattern.
- Sleeves (make 2): Ch 81, dc in 4th ch from hook, crochet rows 1 – 4 of granny stitch crochet stitch pattern.
- Crochet 32 rows, repeating rows 3 – 4, in 11 row stitch pattern.
Step 3: Crochet the Front and Back Pieces
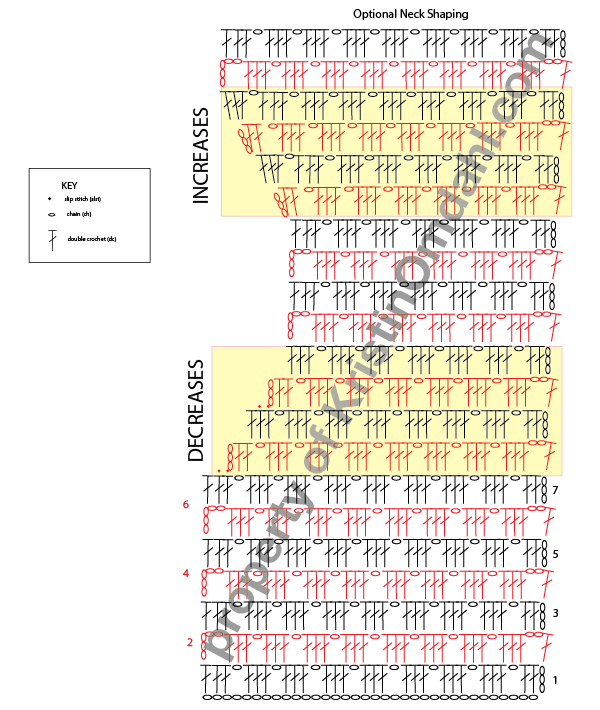
How to crochet Granny Stitch Pattern in Swiftie Stripe Sequence:
Granny Stitch Pattern (2 Row Repeat):
- Chain a multiple of 4 + 1
- Crochet rows 1 – 4 of granny stitch pattern.
- Repeat rows 3 – 4 for desired length.
Stripe Sequence (11 Rows in 4 Colors):
- Alternate colors every 11 rows in your chosen sequence.
- Using Color A, crochet 4 rows in granny stitch pattern.
- Switch to Color B, crochet 2 rows.
- Using Color C, crochet 1 row.
- Using Color D, crochet 1 row.
- Using Color C, crochet 1 row.
- Using Color D, crochet 1 row.
- Using Color C, crochet 1 row.
- Continue alternating colors following the same 11-row sequence until you reach the desired shoulder to shoulder width.
Step 3.5 Optional Neck Shaping:
- Use the highlighted decrease section on the chart for as many decrease rows you want. Each additional decrease row will make the neckline lower.
- Work even in the original even stitch pattern (repeating rows 3 – 4 for the center section (this determines the width of the neckline).
- Use the highlighted increase section on the chart for as many increase rows as you want. Make sure you match the number of decrease rows with the number of increase rows to get back to your original stitch count from before the neck shaping began.
Step 4: Assemble the Dress
Sew Shoulder Seams:
- Align the front and back pieces at the shoulders.
- Using a tapestry needle, sew the shoulder seams together.
Step 5: Crochet and Attach Sleeves
- Sleeves:
- Determine the desired length and width of your sleeves: measure from shoulder to wrist for length of sleeve (number of stitches) and measure circumference around widest part of your arm to determine how big you want your sleeve to be (number of rows).
- Crochet in the granny stitch pattern with the Swiftie Stripe Sequence.
- Use the same stripe sequence as the body of the dress.
- Attach Sleeves:
- Sew the top of each sleeve to the shoulder seam of the dress.
- Ensure the sleeves are evenly aligned.
Step 6: Sew Side Seams
- Fold the dress with the right sides facing each other.
- Sew the side seams of the dress and sleeves together.
Final Touches to Crochet a Custom-Fit Taylor Swift Dress
- Weave in all loose ends using a tapestry needle.
- Work a round of single crochet in your main color around neck hole opening and sleeve hems. Work 2 stitches in each row end stitch.
- Block your dress to ensure it lays flat and the stitches are even.
Conclusion
Congratulations on creating a custom-fit Taylor Swift dress! This project not only enhances your crochet skills but also results in a beautiful, personalized garment. Enjoy wearing your new dress, and don’t forget to share your creation with friends and fellow crochet enthusiasts!
Happy Crocheting!
Kristin Omdahl is the best-selling author of dozens of knit and crochet books; designer of almost 1,000 knit and crochet patterns; and producer of award-winning videos. You can join Kristin, a 20 year veteran in the crafting industry, weekly for The Kristin Omdahl Show podcast on YouTube and browse through thousands of tutorial videos there, too.
Shop all of Kristin Omdahl’s knitting and crochet patterns, books and courses here:
- Shop Kristin Omdahl Crochet Patterns
- Shop Kristin Omdahl Knitting Patterns
- Shop Kristin Omdahl Books
- Shop Kristin Omdahl Courses
- Browse Kristin Omdahl Videos
- Yarn Tales with Kristin Omdahl Podcast
- Craft Meditations
- Watch more of the Kristin Omdahl Show podcast
- Join my Patreon community
- Subscribe to my newsletter here
©Copyright 2024 All Rights Reserved
Kristin Omdahl patterns, books, handouts and videos are for your personal use only; additionally, up to 10 items can be made to sell from one design. Commercially produced products made from my instructions are prohibited. All Kristin Omdahl patterns, books, handouts and videos are licensed for single use and remain the intellectual property of Kristin Omdahl. This pattern may not be reproduced or transmitted in any form or by any means, electronic, mechanical, photocopying, recording or otherwise.
How Do I Download My Pattern or eBook?
Once payment is received, you will receive an email containing a download link button for the PDF pattern. If you do not receive your email immediately, please check your spam filters. If you are logged into your account at the time of purchase, you will also have 24/7 access and unlimited downloads to your pattern in your downloads library in your account section of the Kristin Omdahl website. All patterns are written in standard US terms. NO refunds on digital products.