Crochet Along, Free Sporty Weight Yarn Pattern, Patterns
Sweet Clara Crochet Top Pattern CAL Crochet Along with Kristin Omdahl
Sweet Clara Crochet Top Pattern CAL Crochet Along with Kristin Omdahl
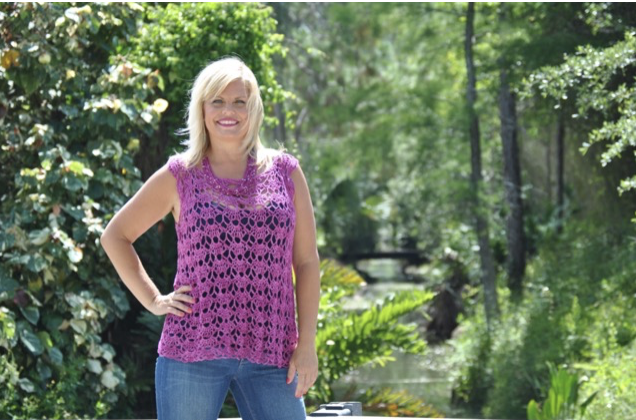
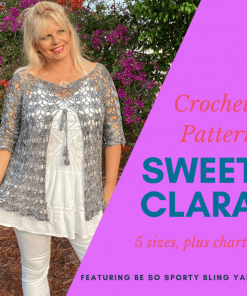
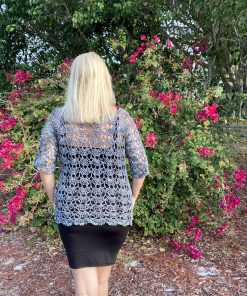
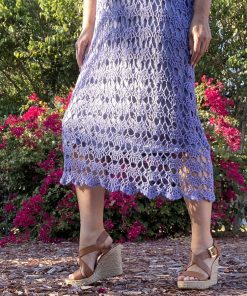
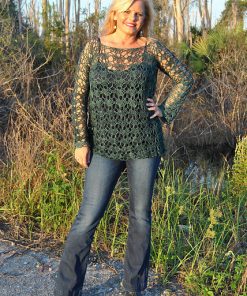
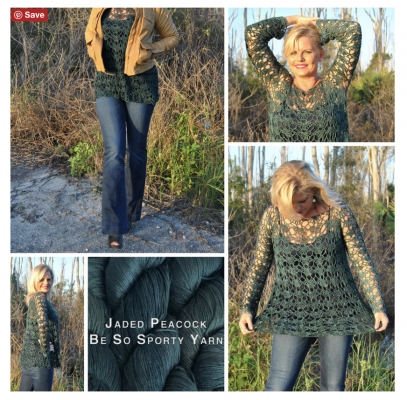
This beautiful top is easy to crochet from the top down. The raglan shaping is worked within the stitch pattern. The whole top is worked in the round and it is completely seamless. Sizes range from 36” bust to 52” bust with ample flounce to showcase the yarn’s incredible drape at the hemline. Free Pattern page HERE: Sweet Clara Crochet Top FREE PATTERN
The ad-free download PDF patterns and yarn are available here:
#3 DK Weight Yarn
#2 Sport Weight Yarn
#2 Sport Weight Yarn
#2 Sport Weight Yarn
#2 Sport Weight Yarn
I designed and crocheted the Sweet Clara Crochet Top Pattern while on the airplane headed to Stitches West last year. The convention was held in Santa Clara, California (and that’s where I got the name). I literally wove in the ends as I was walking to the show floor (while the sweater was already on my body. How’s that for efficiency? 😉 Later on, I remade the sweater with long sleeves too. So now you can make either the cap sleeve or long sleeved version.
The pattern features Kristin Omdahl Yarns Be So Sporty (100% hand-dyed bamboo yarn, 325 yards per 4oz), a pod of Wrapture all natural delicate wash, and the FREE pattern. Depending on which size you make, you will need 2 (3, 3, 4, 4) hanks for the cap sleeve version or 3 (4, 4, 4, 5) hanks for the long sleeve version. The sizes are as follows: 34 (38, 42, 46, 50)” bust.
Please choose from many gorgeous, hand-dyed colors.
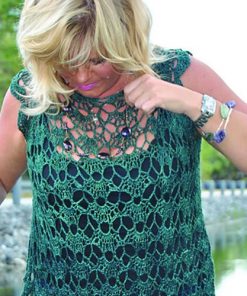
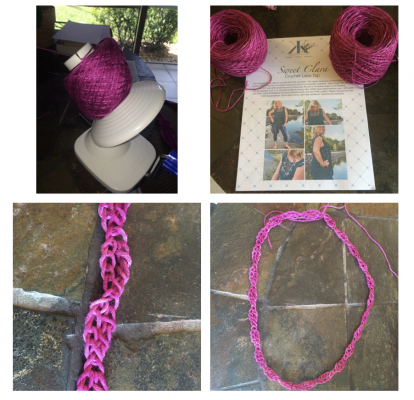
In this crochet-along I will show you a photo tutorial, step by step, of the second top I made with this pattern. The first sample I made in Jaded Peacock and the second one I made in Crushed Berries.
Obviously, we wind the skein into a cake with a ball winder and umbrella swift.
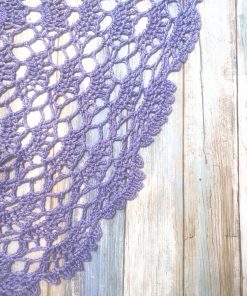
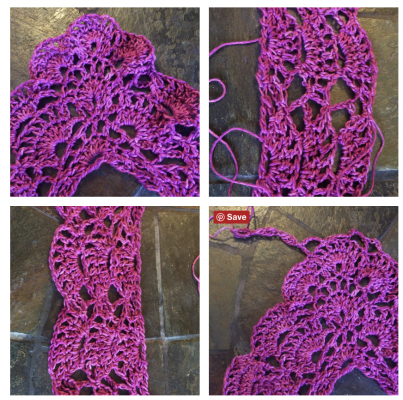
I get asked a lot about the first round of this top. This is a technique I LOVE to use instead of a starting chain. Because the pattern is a mesh-type, starting with a mesh foundation makes it invisible AND more stretchy than a traditional chain edge. Plus, it helps you see the repeats a lot better. Each of the ovals is the equivalent of one mesh repeat. (Chain 4, tr in 4th chain from hook) is repeated until the correct number of ovals are crocheted, per the size in the instructions you making. Slst to join in a round and Voila! You have the first round of you top complete.
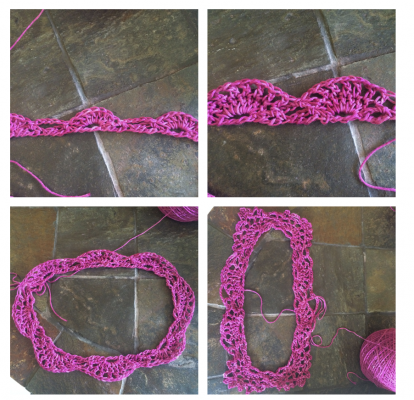
One of the things I love best about this foundation is that you are not crocheting into chains, but just into the large holes of the ovals! Notice the simplicity of crocheting into the ovals for the first round of the stitch pattern.
Through the use of clever shaping within the stitch pattern, the corners are perfectly placed and blend beautifully with the original pattern. Here are the first couple of repeats of the raglan corners.
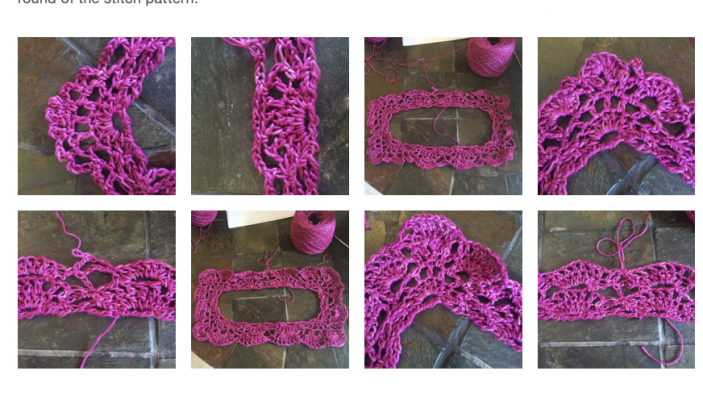
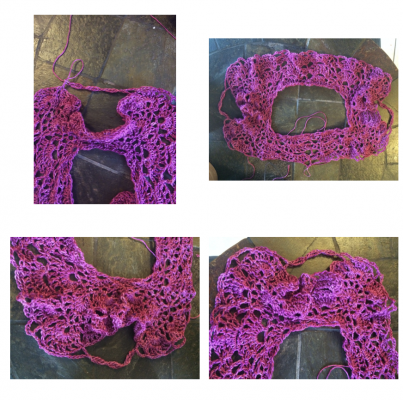
I also get tons of questions about going from a yoke to separating to fronts and back with underarms. I thought the best way to describe it was with pictures! Notice how I use the same oval foundation stitches instead of chains for the underarms?
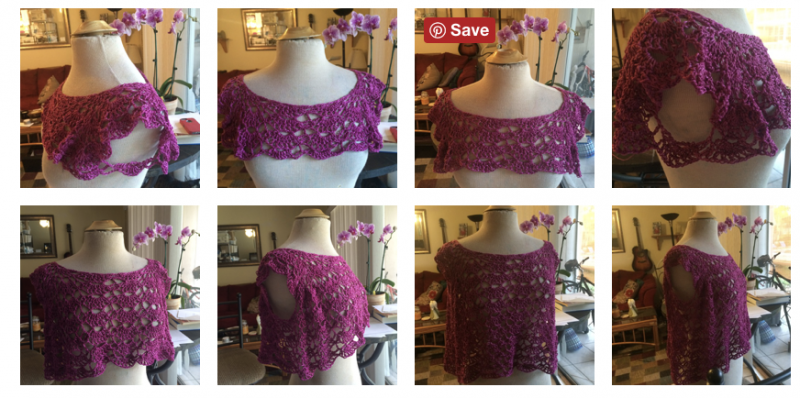
At this point it is helpful to put your top on a dress form, or even try it on, to make sure you are happy with the progression. One thing you may be concerned about, but shouldn’t be, is the volume of fabric. This is a swingy top and it will look like it is going to be too wide at this point. However, we are not working any more increases into the pattern so trust that the volume will ease itself out with length.
A few more progress pictures as the length increases. It should be really smooth sailing at this point! The stitch pattern is easy to memorize and with all this practice you may not even be referring to the pattern anymore (but it’s ok if you are). Keep crocheting in the pattern until you reach your desired length or run out of yarn! I think the stitch pattern is pretty as it is for edging but you could always add a row or two of solid double crochet for a heavier hem.
You’ll want to wash it in a delicate wash (a pod of Wrapture came with your yarn so you are all set there!) Open the pod and squeeze the contents into a sink full of lukewarm water. Add the top and let it absorb the water and sit for 15 minutes. Press the water out of the top (without wringing) and press it between two dry towels to express even more water. I like to roll up the towels with the sweater inside, and then step on it! My body weight really helps to express the water from the yarn into the towels!
Lay the top out on a flat surface. Shape as needed, following the schematic in the pattern, and let dry! Weave in the loose ends. Wear with good health & enjoy!
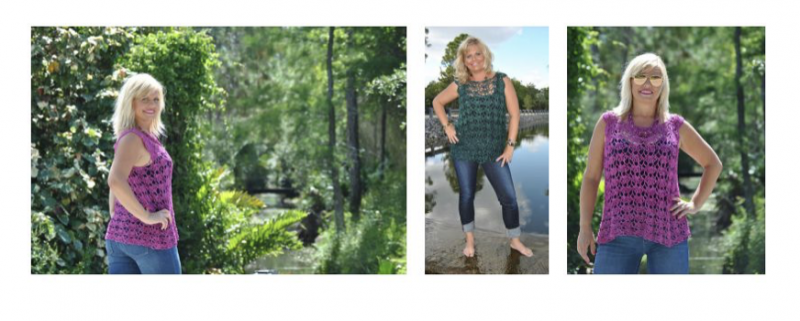
Here are some pictures of the finished top, and how I used the raglan yoke of the top to create a picture frame for over my bed, too!
Shop Kristin Omdahl Yarns HERE
Shop Kristin Omdahl Crochet Patterns HERE
Shop Kristin Omdahl Knitting Patterns HERE
I would love to see your creations. Just as much fun as making these myself is the satisfaction I get from seeing my designs come to life and other crochet fans wearing them too. There are now 2 ways you can share what you have done!
- Share yours by joining Create. Share. Inspire on Facebook where you can interact with me as well as many other members who have a love of knitting and crochet just like you! It is a wonderful and safe place to share your photos of finished projects in my knitting or crochet patterns or yarns, and to see what others are making, too.
- I have recently added a wonderful new interactive section to the website which I invite you to take part in, it has been a smashing success and such fun so far. It is the new “Share a Project” section. You, my creators, can upload images and descriptions of your creations to share with the ever growing community! To upload simply click here.
Additionally, I host a livestreaming podcast weekday on my YouTube Channel called Create Share Inspire Podcast. You can join the audience and even ask me questions LIVE! I often do a show and tell, or quick demo and I always interact with the live audience. It is a lot of fun!
You can browse through almost 800 previously recorded episodes HERE: Create Share Inspire Podcast Playlist . Make sure to subscribe to my YouTube Channel to get reminders when the next episode airs LIVE.
I look forward to seeing what you create!
xoxo,
Kristin




This is absolutely gorgeous ~ Thank you so much for sharing!
Thank you 🙂
i need some help. i understand the foundation row and how to do it. how many spaces do i need to do for the xxl size? theres talk of sizes but nowhere does it say how many spaces for that size.
All sizes start with the same number of ovals for slipping over the head. The number of rounds and increases you do from there are based on which size you are making.